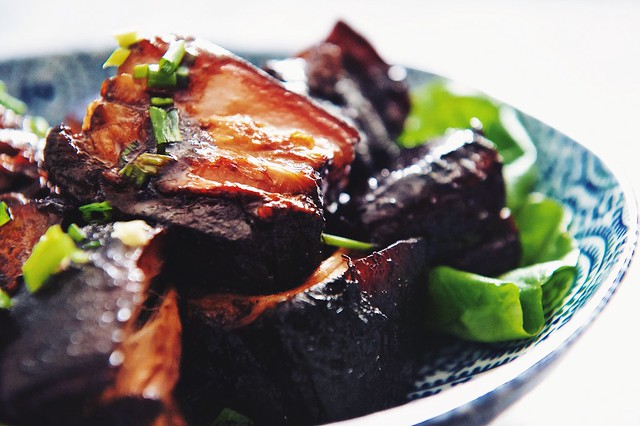
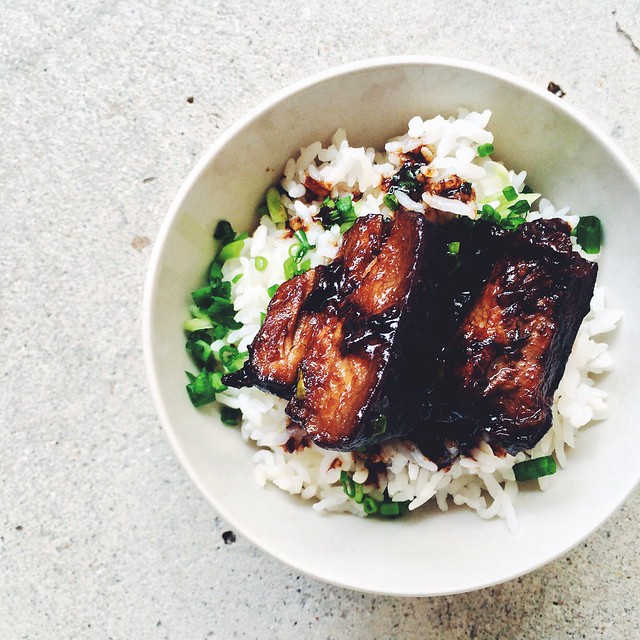
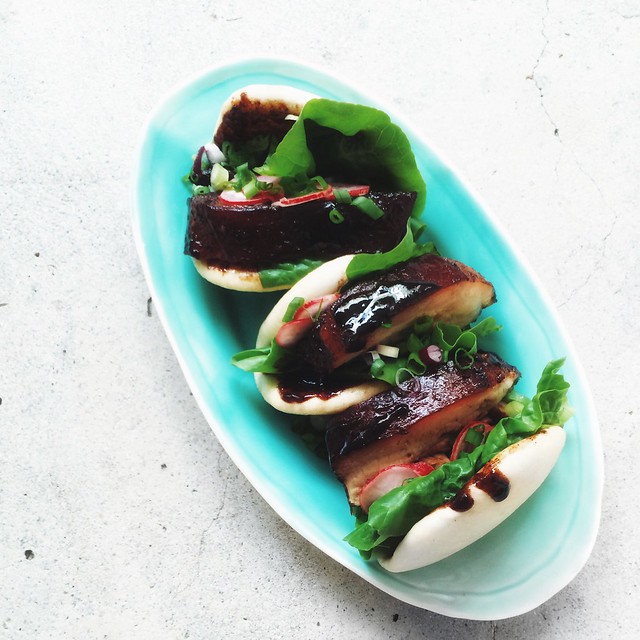
For the past two weekends, I've been mostly home bound due to a knee injury. Just as well, as this gave me more than enough time to experiment with two things very Chinese - the pau and pork belly. Okay, let's cut to the chase and put it out there, I really wanted to eat pork belly pau - a piece of melt-in-your-mouth fatty pork belly wedged between one soft, fluffy, slight sweet steamed bun. The Hokkien Kong Bak Pau (扣肉包) is made with pork belly first deep fried, then either steamed or braised in soy sauce.
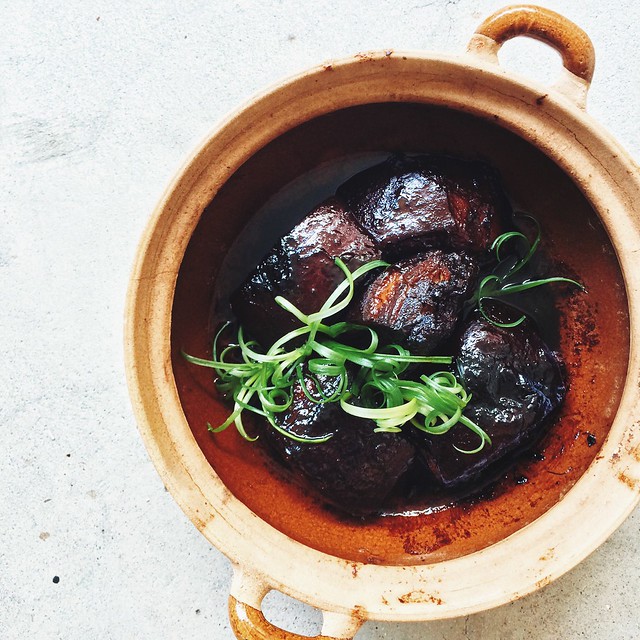
This is not the weather for any kind of deep frying, and faced with the motivation to spend as little time as possible in the kitchen, we made Dong Bo Rou in a clay pot instead. After using my cheap sand pot so many times, with minor cracks threatening to destroy it, I finally discovered the method to correctly season a clay pot prior to the first use. The things our grandmothers use don't come with manuals, you have to know what you're doing or risk learning from mistakes.
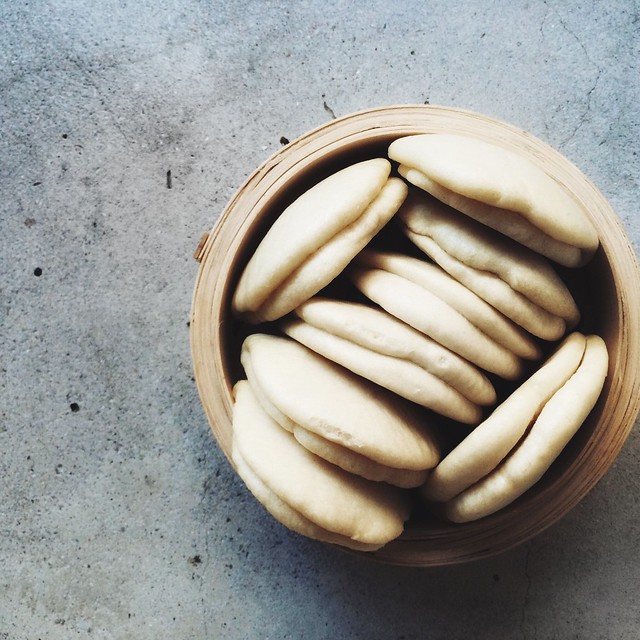
As for the pau, one attempt with a recipe I shall not mention here - surprisingly from a very well known, albeit Western (what was I thinking, really...) food portal - taught me something. Always trust your instincts. If a recipe looks questionable (steamed bun using bread flour?) then it will most likely not work.
Apparently history has it that the pau (one of my favorite Chinese thing to eat), originally called mantou (literally meaning 'flour head'), was first invented by the famous Three Kingdoms Chinese military strategist, inventor and writer Zhuge Liang! As the story goes, Liang was engaged in a military campaign in southern China when his army was hit with a plague. He then came up with a giant dumpling made of pork and beef, shaped like a human head. The unconventional thinker wrapped the head in wheat dough, steamed it and offered it as ritual sacrifice, after which he offered it to his men as a curative. How cool is this right? Although I've not read nor watched Romance of the Three Kingdoms (this must be remedied soon), Zhuge Liang's character in Red Cliff reminded me how brilliant he was (although, of course, it did help that Takeshi Kaneshiro played him in the movie).
As for these pork buns, they are evil. Make and eat at your own risk.
Kong Bak Pau (扣肉包)
Clay Pot Dong Bo Rou (东坡肉)
- 1 kilogram pork belly, skin on, cut into 4 2.5-inch square pieces
- peanut oil for frying
- 1 sprig spring onion, cut into 2-inch lengths
- 5 inches ginger, peeled and thinly sliced
- 5 cloves of garlic, peeled
- 100 grams rock sugar or brown sugar
- 4 tablespoons light soy sauce
- 2 tablespoons dark soy sauce
- 1 cup Shaoxing wine
- 2 cups chicken/vegetable stock
- boiling water (to scald pork)
- baby romaine lettuce
- chopped fresh scallion
- pickled radish
Soak the clay pot for at least 15 minutes (completely submerged in water) before use. Bring a kettle of water to boil. Set a wire rack in the sink and arrange the pork belly pieces on it.
Heat the clay pot up gently over low flame on the stove while prepping the ingredients. Bring heat to medium high and wait for the pot to smoke, then add peanut oil. Sauté the spring onion, ginger and garlic until fragrant, about 2-3 minutes. Meanwhile, scald the pork belly pieces on all sides with the boiling water. Add the sugar to the clay pot and stir constantly till sugar melts. Add the wine and soy sauces. Once boiling, reduce to low and pour in half the stock. Mix well.
Place the pork belly pieces skin side down in the pot. Top up with the rest of the stock. The liquid must at least almost cover the pork. Add water if necessary. Increase heat to medium high and wait for the liquid to come to a boil. Once boiling, reduce heat to the lowest simmer, cover and braise for 45 minutes. After 45 minutes, flip the pork belly pieces and continue braising, covered, for 1 1/2 to 2 hours, basting the skin occasionally, until pork is tender enough to be broken with a pair of chopsticks. Meanwhile, you can prepare the bun dough and let it rise (recipe following).
Remove the pork belly pieces onto a tray and let cool to room temperature, about 1 hour. Meanwhile, skim off any extra oil from the sauce in the pot. Whisk the reduced sauce while the pot is still hot, add boiling water bit by bit to get a nice gravy consistency. Remove and let stand. Sauce will thicken as it cools. While waiting for the pork to cool, prepare the steamed buns.
To assemble the buns: With a thin, sharp knife, slice the pork belly into 1/2-inch thick pieces (each square should cut into 3 pieces). Open up slightly one steamed bun, smear generously the cooled sauce on the inside and stuff a romaine leaf in between. Add a slice of pork, a few pieces of pickled radish and a scattering of scallion. Repeat with the remaining buns, and eat!
Chinese Steamed Buns
Recipe adapted Jen Yu's Chinese Sweet Red Bean Steamed Buns at Use Real Butter.
Yield: 20 lotus leaf buns.
- 1/8 cup sugar
- 1 cup plus 2 tablespoons warm water (105°F to 115°F)
- 1 1/2 teaspoons active dry yeast
- 3 cups flour
- 1 1/2 teaspoons baking powder
- 1 tablespoon vegetable shortening
- vegetable oil
In a medium bowl, dissolve the sugar in warm water and add the yeast. Let the yeast stand until it becomes foamy, floating to the top, about 10 minutes. Sift the flour into a large bowl. Add the baking powder, shortening, and the yeast liquid. Mix well. If the dough is dry, add a little water. If the dough is too wet, add a bit more flour. Knead the dough until smooth on the counter top, about 8 to 10 minutes. Place it back into the bowl and cover tightly with cling film. Let the dough rise in a warm place for till it has tripled in size, about 2 hours.
Cut 20 squares of parchment paper, 3-inches a side.
Knead the risen dough until it is smooth and elastic. Again, if it is too dry, wet your hand(s) and knead it. If too wet, add some flour and knead it in. Cut the dough into quarters and make a log from each quarter. Keep the unused dough under in the bowl covered with a damp kitchen towel to prevent from drying out. Cut each log into 5 equal pieces. Roll lightly into a ball, then flatten each piece into a 4-inch oval with a small rolling pin, about 4 millimetres thick. Brush lightly with vegetable oil, lay a chopstick horizontally across the center of the oval and fold the oval over onto itself to form a bun. Gently pull out the chopstick, leaving the bun folded, and transfer it to a square of parchment paper. Place the bun on a tray, cover with a damp towel. Repeat and shape the rest of the dough.
Let the buns rest for 30 to 45 minutes: they will rise a little.
Set up a steamer on top of the stove - I use a large wok and bamboo steamer. Working in batches (give them space in the steamer as they will expand), steam the buns on the parchment squares for 10 minutes. Remove the parchment. You can use the buns immediately or allow them to cool completely, then put them in plastic freezer bags and freeze for up to 2 months. Reheat the frozen buns in a stove top steamer for 3 to 5 minutes, until puffy, soft, and warmed all the way through.


they look so good! Can i substitute the pork belly for something else?
ReplyDeleteShan: you can use cuts of beef suitable for braising - brisket, oxtail or cheeks.
DeleteWhen I order tis dish at a restaurant, I'd feel so guilty for the week that I'll eat more greens than usual. But it's all worth it. The moment when you sink your teeth into that succulent belly fat... priceless!Thanks for sharing the recipe. The bun looks great. I'm going to make it in a my slow-cooker here.
ReplyDeleteThat looks so tempting!!! Looks very delicious.
ReplyDeleteThese look so good, they are making us want to lick the computer screen! Belly pork is such a wonderful meat to cook with.
ReplyDeleteWe have recently started a food sharing site and would love for you to submit this recipe.